Aftermarket activity

Industrialization of innovative projects

Back to the list

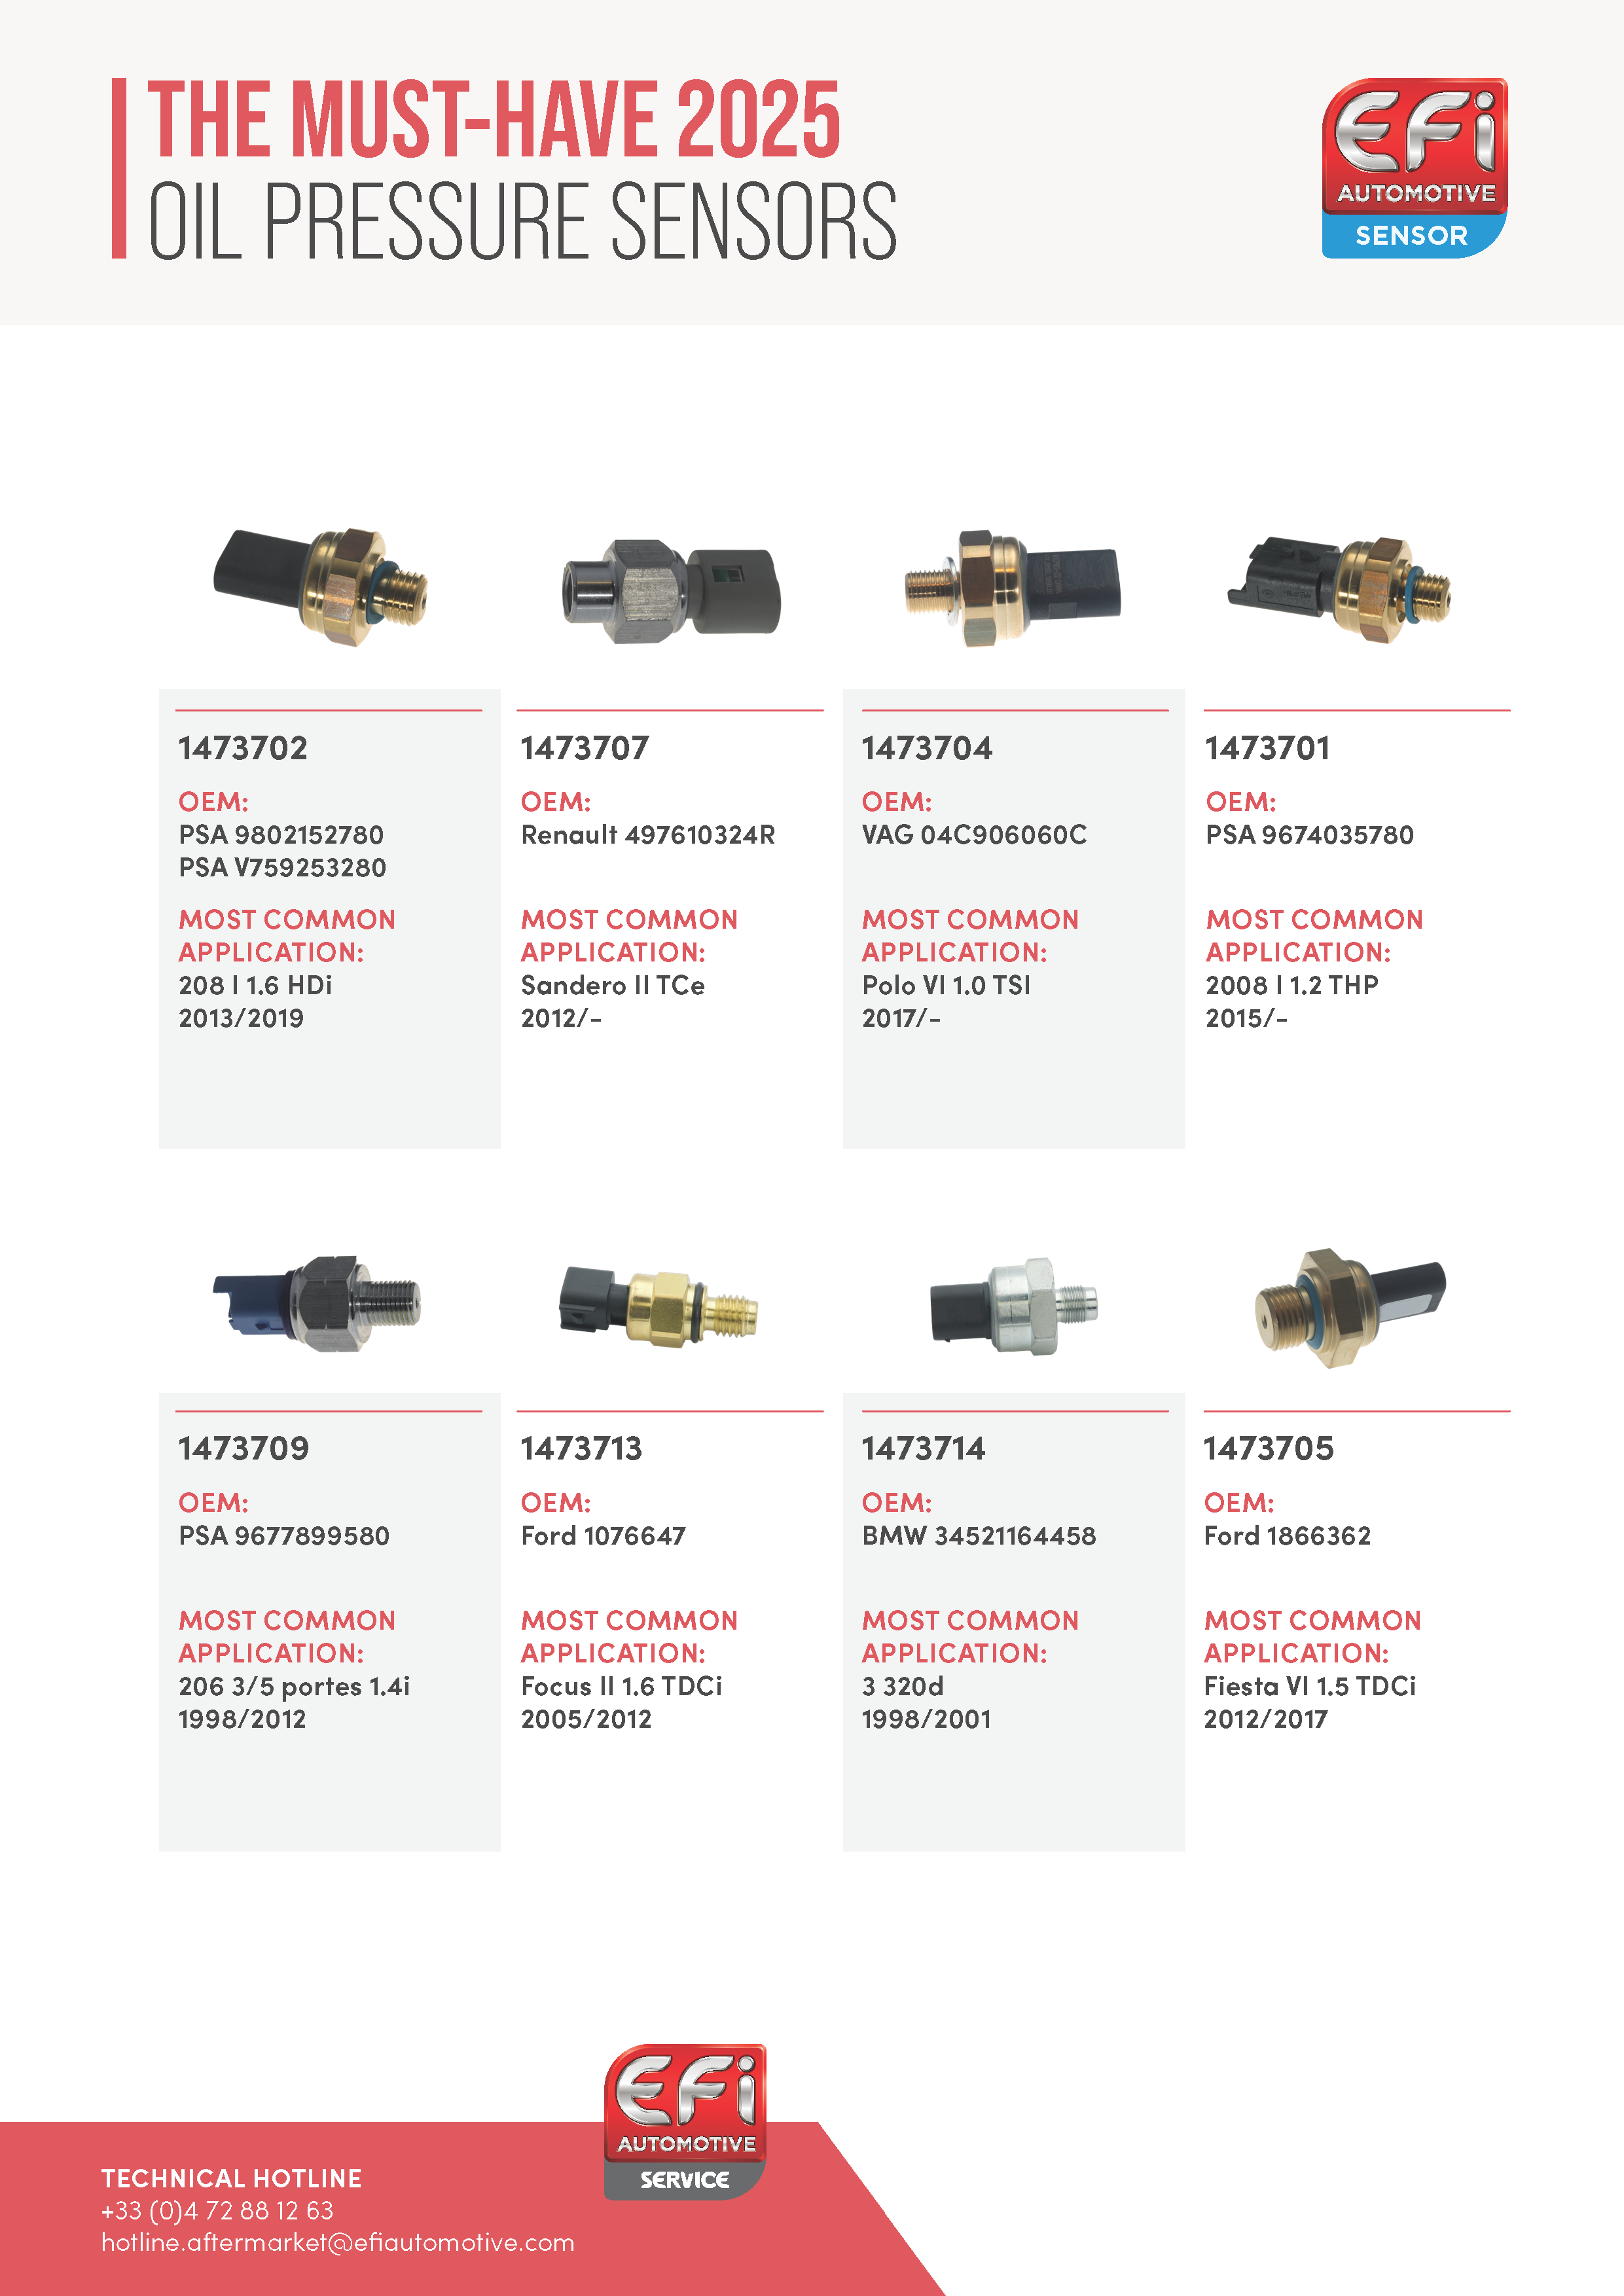
Oil pressure sensors

The advent of the autonomous car has highlighted the fundamental importance of having good sensors. That being said, we have long been committed to providing effective – and reliable – sensors to our customers. So whether you are looking for engine and transmission sensors, or for comfort and safety – not to mention emissions and e-mobility – you should definitely take a look at our range.

Back to the list
Oil
pressure sensors

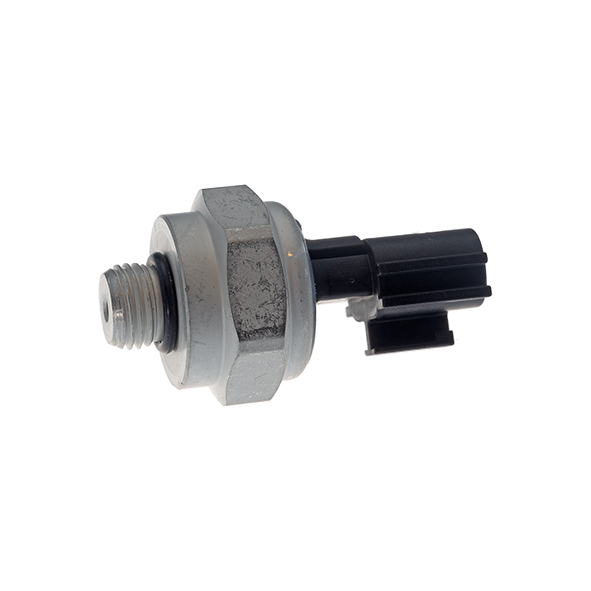
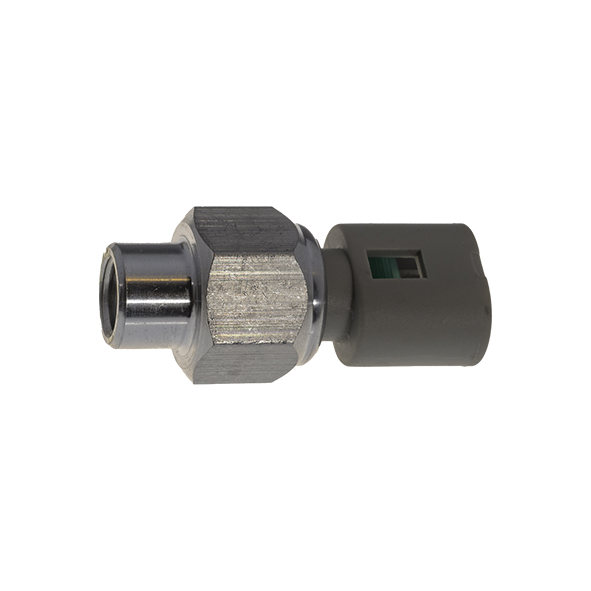
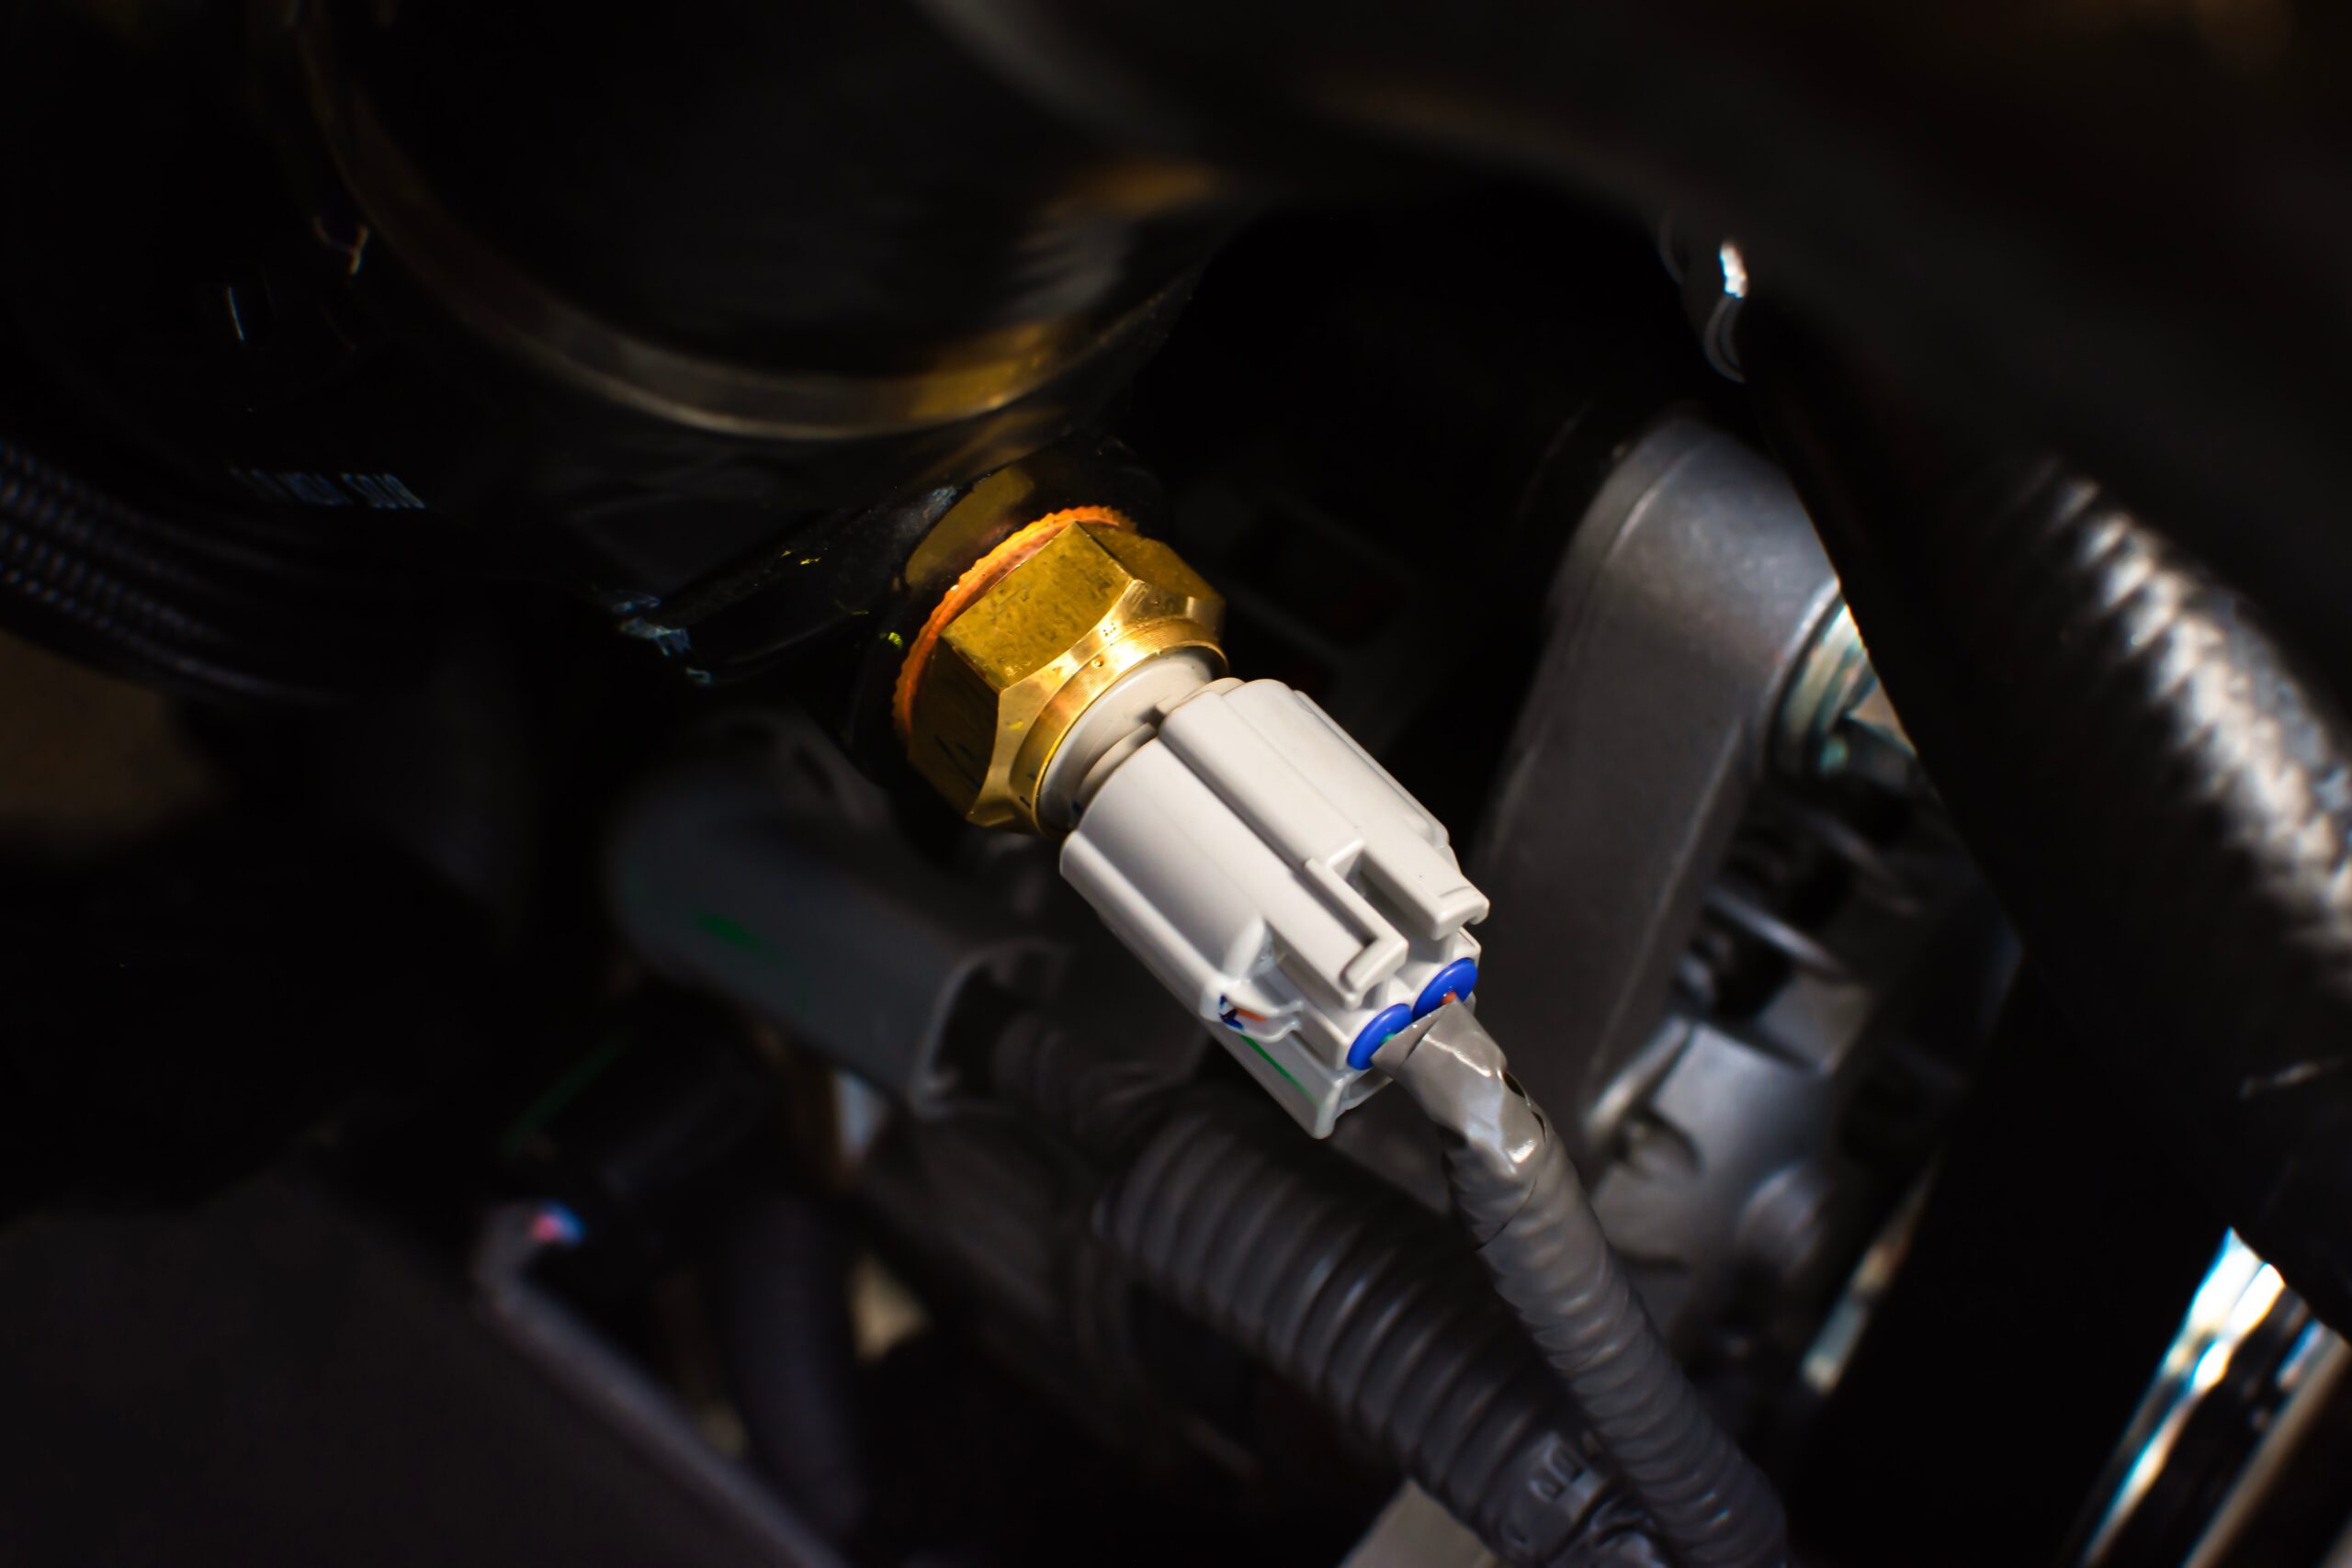
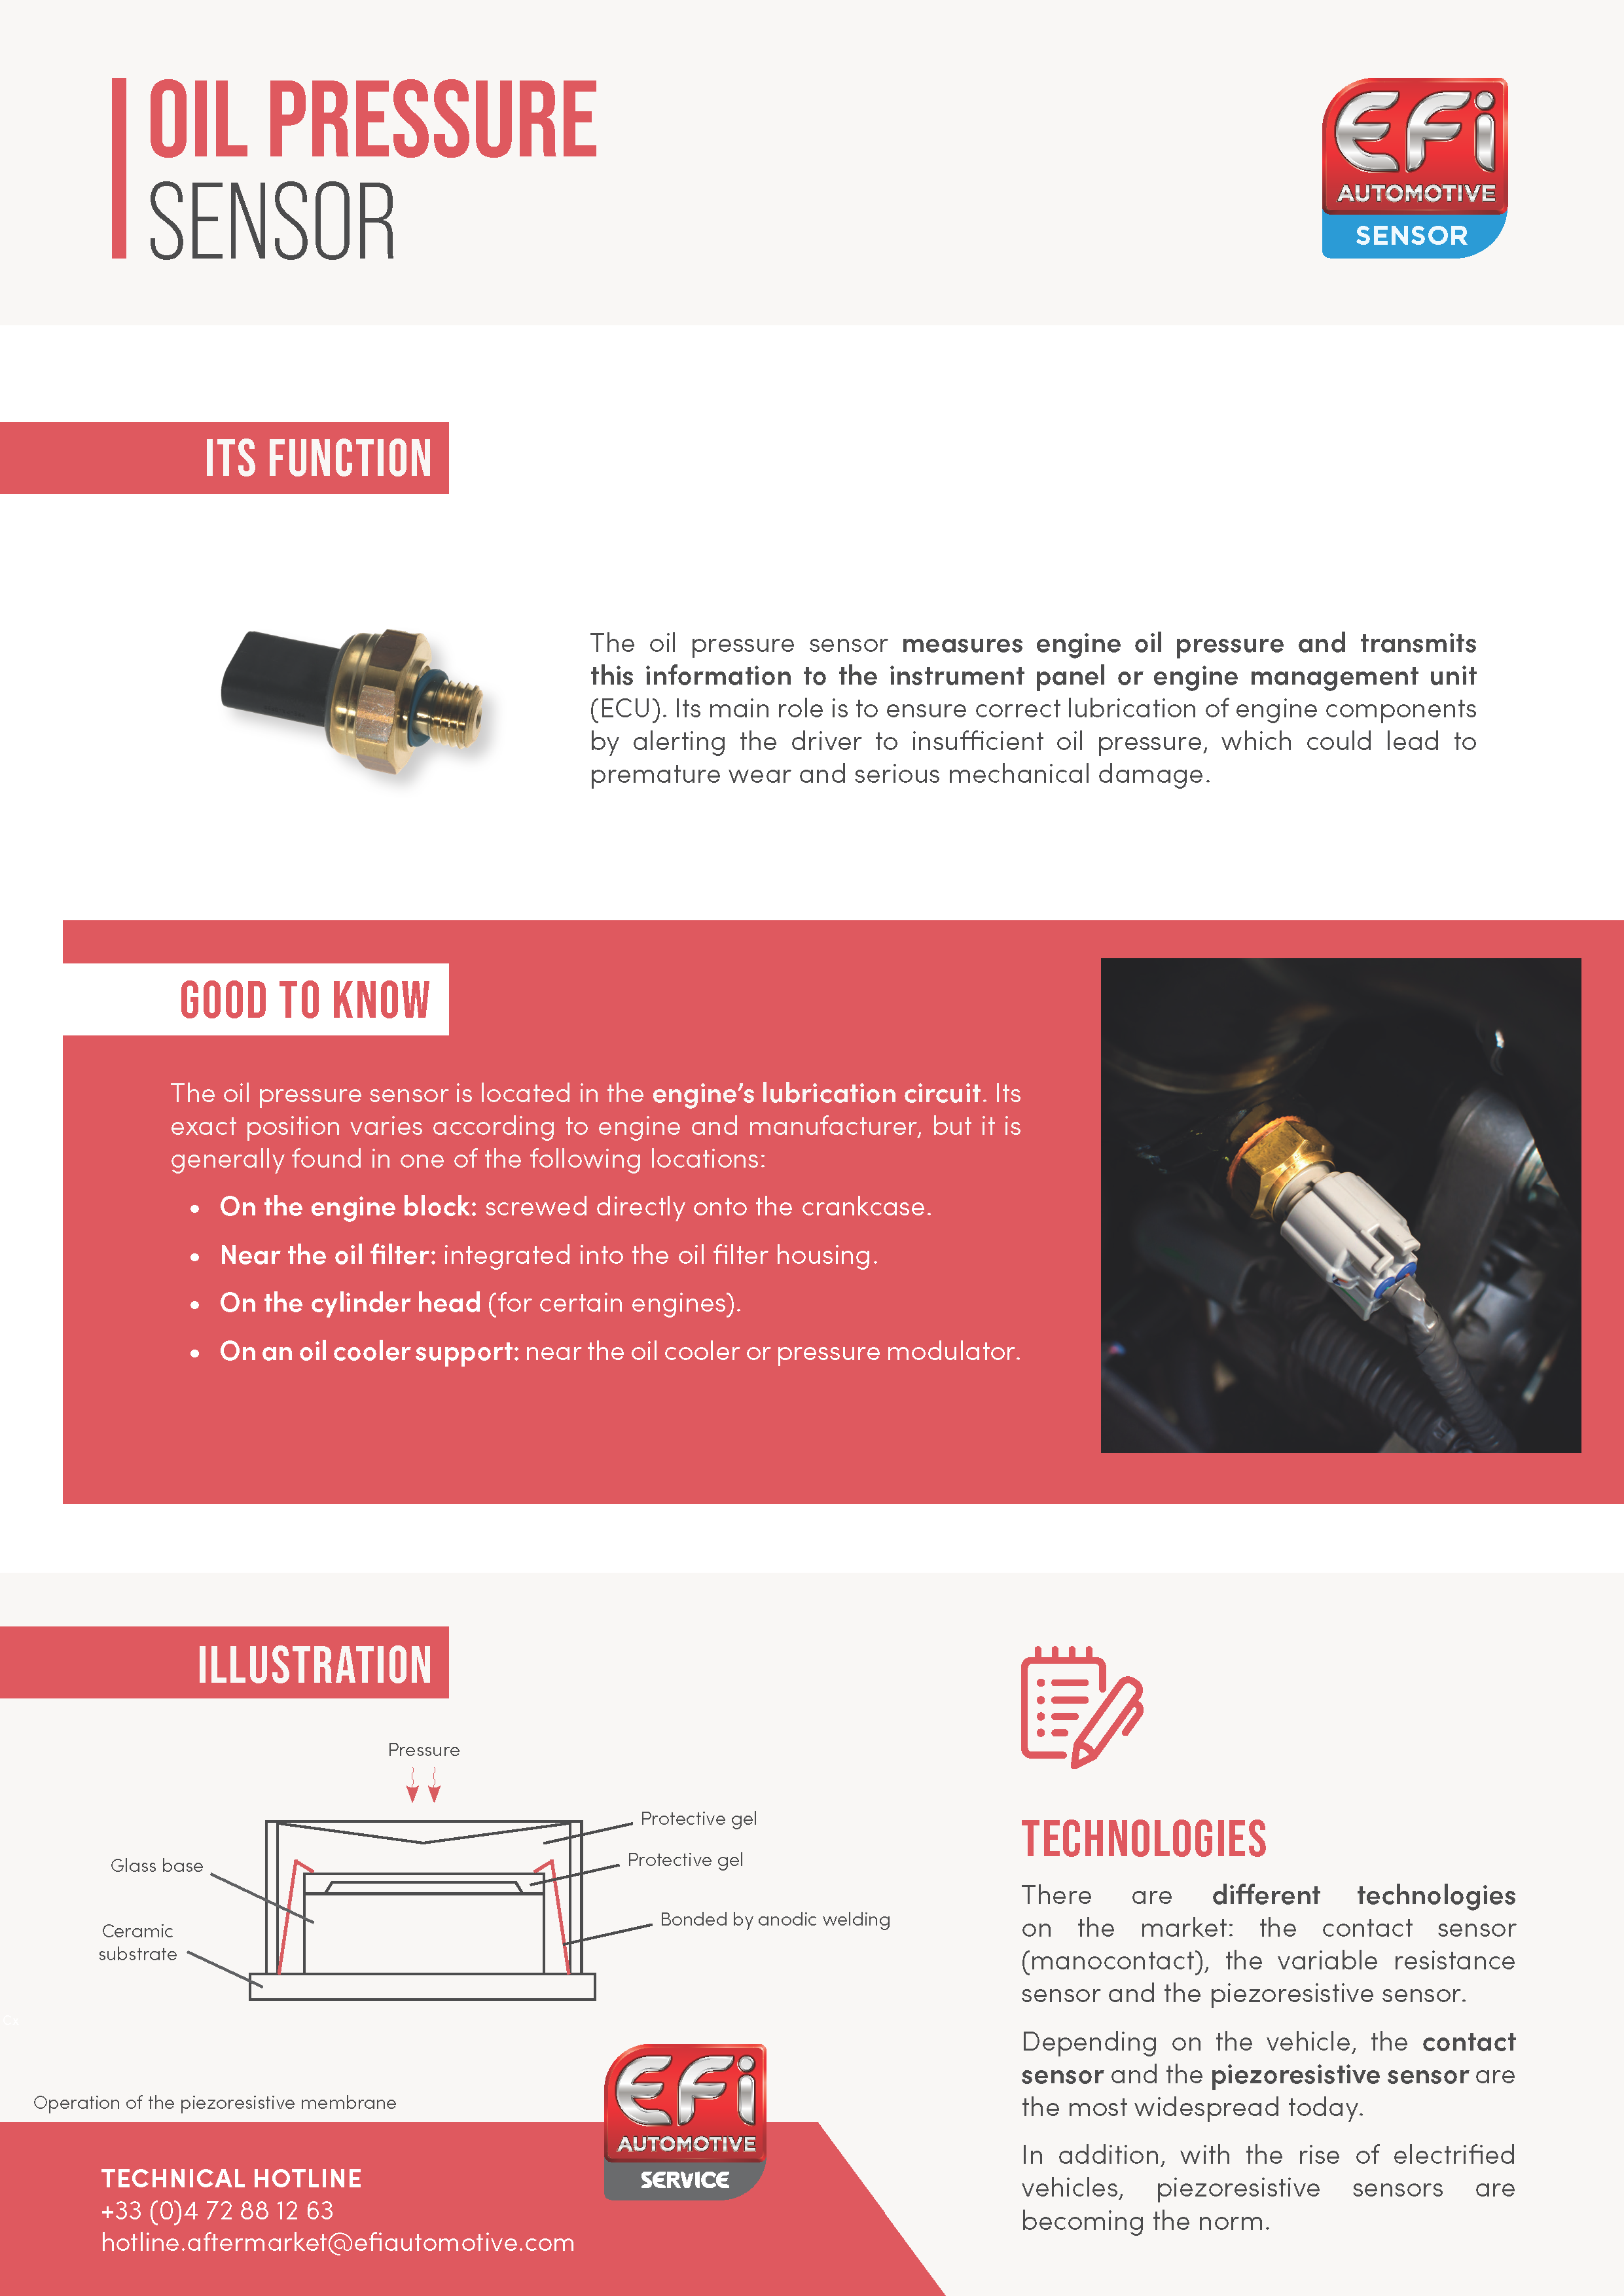
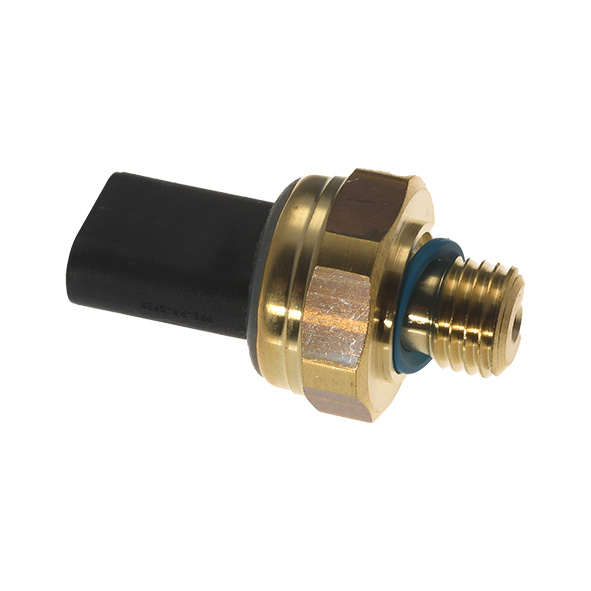
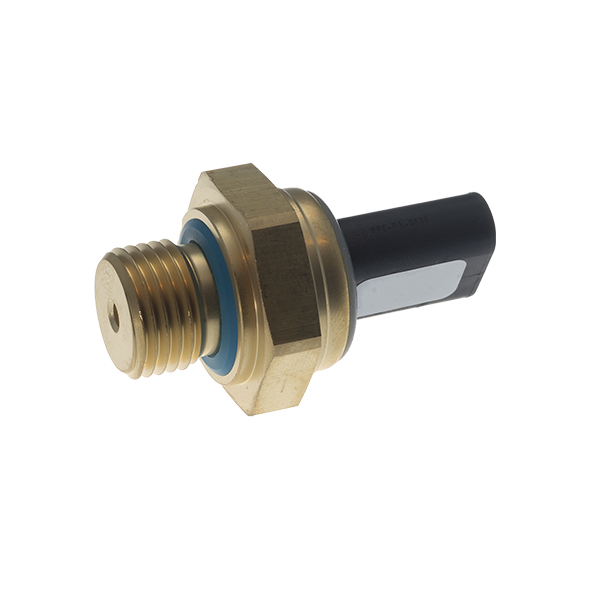
An oil pressure sensor (also called oil pressure switch) is a small device installed in the engine of a vehicle, which monitors the engine oil pressure. Oil is essential for lubricating the different engine parts and preventing them from wearing out. It is usually located near the oil filter or directly on the oil sump. The oil pressure sensor therefore measures the pressure at which oil circulates inside the engine.

Its primary role is to ensure that the oil pressure remains within a normal range. If the pressure is too low, this often means that there is an issue (such as an oil leak or excessive component wear). When this happens, the sensor sends a signal to the vehicle’s on-board computer, and a warning is usually displayed on the dashboard to indicate the need to check the oil level or quality. If this warning is ignored, the engine may suffer serious damage, as it will no longer be properly lubricated.


Technologies
Technical information
Frequently asked questions
Technologies

On the market, there are various types of technology used inside this sensor:

  • Variable-resistance (or pressure switch) technology: this type of sensor uses a flexible diaphragm which deforms according to the oil pressure. When the pressure changes, the diaphragm moves and modifies the circuit’s electrical resistance. This variation in resistance is interpreted by the vehicle’s electronic system, which adjusts the information displayed on the dashboard.
  • Piezoresistive technology: a sensitive element (usually made of silicon) is subjected to the oil pressure. When the pressure changes, the material deforms, causing variation in its resistance. This variation is then converted into an electrical signal which is proportional to the measured pressure.
  • Capacitive technology: when the oil pressure acts on a flexible membrane in the sensor, the distance between two conductor plates changes. This variation modifies the electrical capacity between the plates, which is then converted into an electrical signal.
  • Piezoelectric technology: under the effect of the oil pressure, the piezoelectric material generates an electrical signal which is proportional to the force exerted. This signal is then interpreted by the vehicle’s electronic system.
  • Strain gauge pressure technology: when the oil pressure applies a strain to the membrane, the strain gauge detects this mechanical deformation. The gauge converts the deformation into a variation in electrical resistance, which is then converted into a pressure signal.

The technology used in oil pressure sensors varies according to the need for precision, robustness, and cost. Simpler systems use variable-resistance or piezoresistive sensors, while more complex systems opt for capacitive or piezoelectric sensors. These sensors play a crucial role in protecting the engine, by precisely and continuously monitoring a parameter essential to its correct operation: the oil pressure.

Technical information

SYMPTOMS

The following signs are frequently associated with the failure of an oil pressure sensor:

  • Oil pressure indicator light lit up on the dashboard;
  • Indicator light flashing or going out intermittently;
  • Incorrect oil pressure reading;
  • Engine stalling or performance loss;
  • Abnormal engine whirring or noise;
  • Excessive oil consumption;
  • General malfunction of the engine.

DIAGNOSIS PROCEDURE

Firstly, it is necessary to check the oil level and quality. A low oil level can cause an actual drop in the oil pressure, triggering the sensor. Degraded, old, or poor-quality oil can also affect engine lubrication and cause incorrect pressure readings.

It is also important to visually inspect the various components of the oil pressure sensor (wires and connectors), to determine whether there is any visual fault.

Secondly, it can be tested with a multimeter. Depending on the type of sensor, the resistance between the terminals of the sensor should vary along with the pressure, but it is necessary to refer to the manufacturer’s specifications for the correct values. Some sensors generate a voltage signal which is proportional to the oil pressure. It is important to test the voltage output using a multimeter in direct voltage (DC) mode to check whether the sensor output varies when the engine is running.

If this is not sufficient, the use of an OBD-II diagnostic tool is recommended to identify the fault codes associated with the oil pressure sensor.  For example, codes such as P0520 or P0523 may indicate issues with the sensor in question. These codes may indicate a faulty sensor, abnormal pressure, or another issue related to engine oil management.

If the preceding tests are inconclusive, your vehicle’s oil pressure sensor needs to be replaced.


CAUSES OF FAILURE

An oil pressure sensor may no longer be working due to:

  • Natural wear or aging of the sensor;
  • An accumulation of dirt or debris;
  • An oil leak;
  • A wiring or electrical connection issue;
  • An oil pump malfunction;
  • An overheating issue;
  • A failure of the sensor’s gasket;
  • Use of unsuitable or poor-quality oil;
  • A manufacturing fault;
  • Exposure to excessive vibration;
  • An issue in the oil pressure regulation circuit.

INSTALLATION INSTRUCTIONS

To ensure fast and efficient installation, please refer to the following instructions:

    1. Disconnect the vehicle battery’s negative terminal.
    2. Locate the oil pressure sensor, which is usually located near the oil pump or the oil filter, or on the engine block.
    3. Carefully disconnect the electrical connector from the sensor.
    4. Using a suitable socket wrench, remove the sensor by turning it anticlockwise.
    5. Clean the fitting area with a clean cloth or cleaning fluid to remove any excess oil, dirt, or residue.
    6. Apply a sealing product (optional). Some sensors require a sealing product (usually Teflon tape) to be applied to the threads to ensure correct sealing. Refer to the sensor’s instruction manual to find out whether this is necessary.
    7. Start screwing in the new sensor by hand to avoid crossing the threads.
    8. Then tighten with a torque wrench, in accordance with the manufacturer’s recommendations. Depending on the model of the sensor, the tightening torque will be between 10 Nm and 20 Nm.
    9. Reconnect the electrical connection and, if necessary, apply dielectric grease to the connector to protect it against corrosion or moisture.
    10. Reconnect the vehicle’s battery.
    11. Check for any oil leaks around the sensor.
    12. Using the OBD-II tool, reinitialize any error codes that may be linked to the sensor.

INSTALLATION TIPS

As the oil pressure sensor is essential to the correct operation of the engine, it is important to follow certain advice to prolong its service life:

  • Apply a good sealing product (Teflon tape or liquid gasket);
  • Use a torque wrench to comply with the recommended tightening torque (between 10 Nm and 20 Nm for this type of sensor);
  • Always replace the gasket, otherwise there is a risk of leakage.

PREVENTIVE INFORMATION

The above items are provided for information purposes only. They do not replace the advice of a qualified technician or mechanic. We strongly recommend that you consult a professional if you are unsure of what to do. Otherwise, we cannot accept responsibility for any damage to your vehicle.

Frequently asked questions
What symptoms should I look out for?

The most common sign of a sensor issue is the activation of the oil pressure indicator light on the dashboard. If the sensor is not working properly, it can send false information to the ECU, triggering the warning even if the oil pressure is normal. An oil pressure indicator light which either flashes or comes on and goes out randomly may also indicate a faulty sensor or faulty electrical connections. If the vehicle is fitted with an oil pressure gauge (in addition to the indicator light), you may notice that the reading is consistently too low or too high, or that it fluctuates abnormally. An incorrect reading is often the result of a faulty sensor which is not measuring the pressure correctly. In some cases, failure of the oil pressure sensor can lead to engine stalling or loss of power. This occurs when the engine control unit (ECU) receives incorrect information from the sensor, resulting in inappropriate actions, such as limiting engine performance to prevent potential damage. If the oil pressure sensor is faulty and is transmitting false information, it may not properly warn the driver in the event of a genuine drop in the oil pressure. In this case, the engine may lack lubrication, resulting in mechanical noises such as rattling or squeaking coming from the engine’s internal parts. A faulty sensor can sometimes cause a false alarm indicating a lack of oil, even if the level is correct. This can lead the driver to unnecessarily add oil, resulting in excessive oil consumption. In some cases, a faulty oil pressure sensor can affect the entire operation of the engine. The engine management system may enter “safe” mode or limit performance to protect the engine against potential damage.
How to identify the fault?

Firstly, we strongly recommend that you check the oil level and quality. A low oil level can cause an actual drop in the oil pressure, triggering the sensor. Degraded, old, or poor-quality oil can also affect engine lubrication and cause incorrect pressure readings.

You can also visually inspect the various components of the oil pressure sensor (wires and connectors), to determine whether there are any visible faults.

Secondly, if possible, we recommend that you test the sensor with a multimeter. Depending on the type of sensor, the resistance between the terminals of the sensor should vary along with the pressure, but it is necessary to refer to the manufacturer’s specifications for the correct values. Some sensors generate a voltage signal which is proportional to the oil pressure. It is important to test the voltage output using a multimeter in direct voltage (DC) mode to check whether the sensor output varies when the engine is running.

If this is not sufficient, we advise that you go to a professional, so that they can use an OBD-II diagnostic tool to identify the fault codes associated with the oil pressure sensor.  For example, codes such as P0520 or P0523 may indicate issues with the sensor in question. These codes may indicate a faulty sensor, abnormal pressure, or another issue related to engine oil management.

If the preceding tests are inconclusive, then you will need to replace vehicle’s oil pressure sensor.

Why does my oil pressure sensor need replacing?

Like any electronic or mechanical component, the oil pressure sensor wears out over time. Sensors exposed to harsh operating conditions, such as extreme temperatures and constant vibration, can wear out more quickly. Engine oil may contain contaminants, such as metal particles, dirt, or residue from used oil. These contaminants can obstruct the sensor or clog up its internal components. Oil may leak around the sensor if the gaskets or connections are worn or damaged. This can also affect the sensor’s internal components. The electrical cables connecting the sensor to the engine management system may be damaged by wear, corrosion, or short circuits. Loose or incorrectly fixed connections can also prevent the sensor from transmitting accurate data. If the oil pump is not working properly, this directly affects the oil pressure in the engine. An operational sensor may therefore correctly indicate abnormal pressure, but in this case, it is not the sensor which is at fault. However, prolonged malfunction of the pump can also damage the sensor due to poor oil circulation. The oil pressure sensor is exposed to high temperatures under the hood. If the engine regularly overheats, or if the sensor is positioned near to very hot areas, internal electronic components may be damaged. A damaged or worn gasket can allow oil to enter the sensor’s electronic components. This can lead to short circuits or incorrect pressure readings. Using engine oil that is not recommended for the vehicle, or poor-quality oil, can affect the oil pressure and, consequently, the reading from the sensor. Oil that is too thick or too thin can cause abnormal pressure fluctuations. Like any electronic component, some sensors may be faulty when they leave the factory. Design faults or poor-quality materials can cause premature failure. Over time, vibrations generated by the engine or uneven road surfaces can cause the sensor to fail, especially if it is incorrectly fixed or directly exposed to these vibrations. This may affect the sensor’s internal components or cause electrical disconnections. an issue in the oil pressure regulation system, such as a faulty or jammed pressure regulator, may affect the reading from the sensor. Even if the sensor itself is working properly, a regulator that is not working properly could result in incorrect oil pressure readings.

What are the installation instructions?

We recommend that you follow the steps below to replace your oil pressure sensor as efficiently as possible and to minimize the risk of any error:

    1. Disconnect the vehicle battery’s negative terminal.
    2. Locate the oil pressure sensor, which is usually located near the oil pump or the oil filter, or on the engine block.
    3. Carefully disconnect the electrical connector from the sensor.
    4. Using a suitable socket wrench, remove the sensor by turning it anticlockwise.
    5. Clean the fitting area with a clean cloth or cleaning fluid to remove any excess oil, dirt, or residue.
    6. Apply a sealing product (optional). Some sensors require a sealing product (usually Teflon tape) to be applied to the threads to ensure correct sealing. Refer to the sensor’s instruction manual to find out whether this is necessary.
    7. Start screwing in the new sensor by hand to avoid crossing the threads.
    8. Then tighten with a torque wrench, in accordance with the manufacturer’s recommendations. Depending on the model of the sensor, the tightening torque will be between 10 Nm and 20 Nm.
    9. Reconnect the electrical connection and, if necessary, apply dielectric grease to the connector to protect it against corrosion or moisture.
    10. Reconnect the vehicle’s battery.
    11. Check for any oil leaks around the sensor.
    12. Using the OBD-II tool, reinitialize any error codes that may be linked to the sensor.
What tips should I use to extend the life of my oil pressure sensor?

As the oil pressure sensor is essential to the correct operation of the engine, it is important to follow certain advice to prolong its service life:

  • Apply a good sealing product (Teflon tape or liquid gasket);
  • Use a torque wrench to comply with the recommended tightening torque (between 10 Nm and 20 Nm for this type of sensor);
  • Always replace the gasket, otherwise there is a risk of leakage.