Aftermarket activity

Industrialization of innovative projects

Back to the list

MAP sensors

The advent of the autonomous car has highlighted the fundamental importance of having good sensors. That being said, we have long been committed to providing effective – and reliable – sensors to our customers. So whether you are looking for engine and transmission sensors, or for comfort and safety – not to mention emissions and e-mobility – you should definitely take a look at our range.

Back to the list
MAP
sensors

The boost pressure sensor is also known as the MAP sensor, which stands for Manifold Absolute Pressure. Its role is to measure the pressure of the air intake in the engine and then transmit this data to the ECU, in order to regulate fuel injection as precisely as possible, and thus obtain a stoichiometric mixture close to the ideal “lambda” value.

The MAP sensor is found in a large number of vehicles, especially in diesel cars with turbochargers – although it is also found in a growing number of petrol engines. For the record, the turbo maximises the airflow into the engine block, thereby improving combustion and thus the vehicle’s power. In this context, you can easily see that the MAP sensor plays a crucial role, providing real-time information on the air pressure reaching the engine.

The MAP sensor is used to measure the air pressure in the vehicle’s intake system; it is thus logically located in the engine, more precisely at the air intake. You will find it in a manifold  pipe, or at least in its immediate vicinity, connected to the manifold by a hose.

Technology
Technical information
Frequently asked questions
Resources
Technology

PIEZORESISTIVE TECHNOLOGY

The sensor element is of the Piezoresistive type with a Wheatstone bridge configuration, which operates by means of a diaphragm that shifts under air pressure. This changes the resistance of the sensors, generating electrical signals. This information is then transmitted to the ECU, which interprets it to optimise the air/fuel mixture.

Technical information

SYMPTOMS

The following symptoms are often associated with MAP sensor failure:

  • Engine fault signal on the dashboard;
  • Detonation and misfiring;
  • Failed intake test at roadworthiness check;
  • “Rich” air/fuel ratio: rough idle, low fuel consumption, slow acceleration;
  • “Lean” air/fuel ratio: over voltage, stalling, lack of power.

DIAGNOSIS PROCEDURE

First and foremost, you need to visually inspect the MAP sensor to determine the presence of a fault. It is therefore strongly recommended to check the following:

  • The connector (loose connections, melted or cracked wires);
  • The wiring (presence of scale);
  • The sensor pins (presence of corrosion, straight and clean);
  • The hose from the sensor to the intake manifold (clean, unobstructed or cut).

If the previous tests are not conclusive, you must replace your vehicle’s MAP sensor.

CAUSES OF FAILURE

It is possible that a MAP sensor is no longer working due to:

  • Poor anchoring of the sensor leading to leaks;
  • Short circuits, internal failure due to mechanical or thermal stress;
  • Excessive vibration which can cause connections to loosen and indirectly damage the sensor;
  • Cracking or melting of the connectors due to overheating because of the proximity to the motor.

INSTALLATION INSTRUCTIONS

To ensure a quick and efficient installation, you must refer to the following instructions:

  1. Check the location of the MAP sensor in your vehicle’s service book or automotive technical review (ATR). It is usually located in or near the intake manifold.
  2. Once you have found the sensor, proceed to remove it by carefully pulling out its connector and plug.
  3. Then unscrew the screws holding the MAP sensor, and remove it.
  4. Finish by refitting your MAP sensor by backtracking step by step. Reposition it, reconnect its connector and finally put the engine cover back in place.
  5. Make sure that your engine is working properly after cleaning.

INSTALLATION TIPS

As the MAP sensor is essential to the correct operation of the engine, it is important to follow a certain number of recommendations when replacing it:

  • Be careful not to damage your new MAP sensor during installation;
  • If you simply want to clean the MAP sensor, you can do so with brake cleaner and/or a special product such as White Spirit. Be careful, however, not to dismantle the vehicle’s turbocharger.

PREVENTIVE INFORMATION

The above items are provided for information purposes only. They do not replace the advice of a qualified technician or mechanic. We strongly recommend that you consult a professional if you are unsure of what to do. Otherwise, we cannot accept responsibility for any damage to your vehicle.

Frequently asked questions
What symptoms should I look out for?

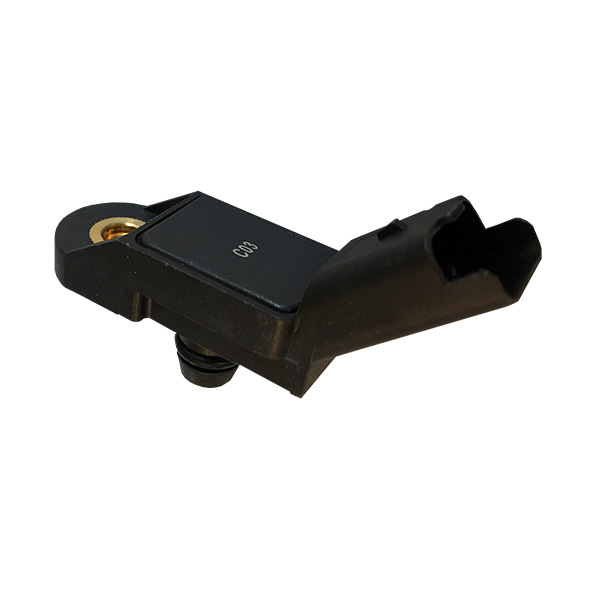
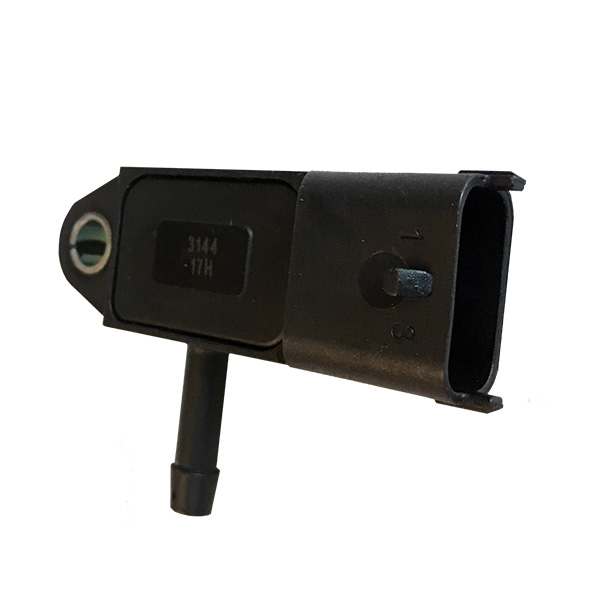
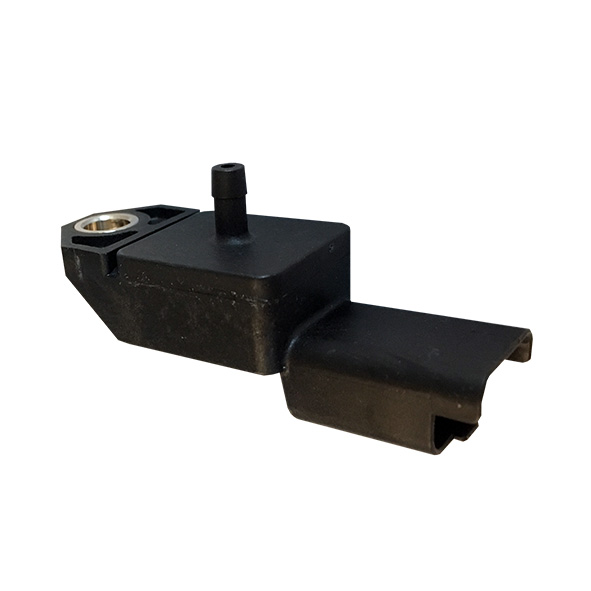
As the boost pressure sensor plays a key role in your car’s injection system, a faulty MAP sensor can disrupt it. You can identify problems with the MAP sensor by observing symptoms such as excessive fuel consumption and loss of engine power, as well as misfiring. Problems can also occur when starting the car: as the engine fault signal lights up on the dashboard. Finally, a faulty MAP sensor will result in a failed intake test at the roadworthiness test.

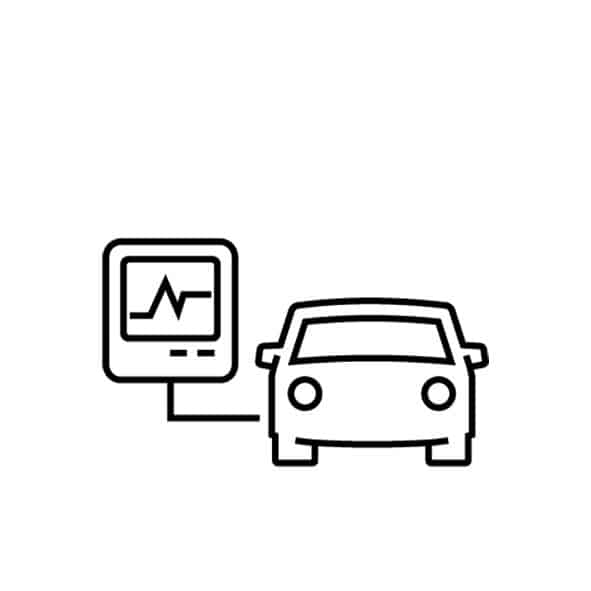
However, as these symptoms may also indicate a problem with another part of the injection system, only a diagnosis will ensure that the MAP sensor is indeed faulty.

How to identify the fault?

First of all, we advise you to visually check your sensor and its components. Indeed, make sure that the connector, the wiring, the pins of the sensor and the hose connecting the sensor to the intake manifold are not defective. In other words, that there are no loose connections, corrosion, blockages, scale or even cuts.

Secondly, you can use a multi-meter to check that the sensor is working properly.

If the previous tests are not conclusive, you will probably need to replace your temperature sensor.

Why does my MAP sensor need replacing?

Although automotive sensors are built to a very high standard, they do not last forever and there are a number of reasons why they may need to be replaced, including poor anchoring leading to leaks. There is also the possibility of internal damage due to excessive vibration, causing loose connections, while the close proximity to the engine also means high thermal stress.

What are the installation instructions?

We recommend the following steps to replace your MAP sensor as efficiently as possible and to limit possible mistakes:

  1. Check the location of the MAP sensor in your vehicle’s service book or automotive technical review (ATR). It is usually located in or near the intake manifold.
  2. Once you have found the sensor, proceed to remove it by carefully pulling out its connector and plug.
  3. Then unscrew the screws holding the MAP sensor, and remove it.
  4. Finish by refitting your MAP sensor by backtracking step by step. Reposition it, reconnect its connector and finally put the engine cover back in place.
  5. Make sure that your engine is working properly after cleaning.
What tips should I use to extend the life of my MAP sensor?

As a sensor specialist, we recommend the following to extend your MAP sensor’s durability:

  • Be careful not to damage your new MAP sensor during installation;
  • If you simply want to clean the MAP sensor, you can do so with brake cleaner and/or a special product such as White Spirit. Be careful, however, not to dismantle the vehicle’s turbocharger.
Resources
You can download the best-sellers associated with this product family below.
Best-sellers
Find out more about our top 8 sellers for the European market.
Download