Aftermarket activity

Industrialization of innovative projects

Back to the list

Ignition coils

Without the ignition function, even the most efficient engine – whether internal combustion or hybrid, for that matter – would simply be useless. So our coils, wires and other ignition parts play a crucial role for motorists, and the Bougicord® brand – renowned worldwide for over 60 years – is still the pride of our teams today.

Back to the list
Ignition
coils

An essential part of the ignition system, the coil’s basic function is to transform the battery’s low voltage energy into a high voltage signal (30,000V), thus generating a spark at the spark plug terminals which will allow the ignition of the air/fuel mixture. It is thus directly involved in the combustion process in a petrol engine.

Designed for use in ignition in more severe combustion chamber conditions, its main advantages are improved fuel efficiency, reduced weight and size of the ignition function, and ease of installation on the engine.

Over the years, there have been many generations of coils: from the oldest “classic” oil system to the latest generation of individual coils, connected directly to the spark plug, to ramp or twin coils.

With more than 60 years of experience in the field of ignition, our expertise is well established. By putting this know-how to good use, we offer you a 3-year warranty extension on our entire range of coils beyond the 2-year period already in force.

Technologies
Technical information
Frequently asked questions
Resources
Technologies

THE IGNITION WIRE COIL

Developed by the EFI Automotive Group, this type of coil is suitable for mono or jumostatic applications. The ignition wire and the coil’s functions are combined in a single product. The connection is reliably ensured by its design, and it adapts to all engine configurations. This solution is the best technical and economical compromise when the coil function must be deported due to a lack of space and/or accessibility and a severe combustion chamber environment near the spark plugs.

THE INTEGRATED IGNITION BLOCK

The coil block is suitable for single or jumostatic applications. It can be inserted in the space between the two camshafts on 16-valve engines, or laterally on 8-valve engines. This type of coil makes the high voltage connections more reliable and is fitted in a single operation for 4-cylinder engines.

THE “DRY” COIL

As a static voltage transformer, the “dry” coil is a component of the ignition circuit. It is mounted together with the ignition wire set to supply high voltage to the spark plugs and to generate the spark. This type of coil is frequently found in older vehicles and classic cars and has gradually replaced the first generation of (oil) coils.

THE PENCIL COIL

This coil is reserved for monostatic ignition applications and is suitable for narrow spark plug shafts ranging from 18 to 24 mm in diameter. This type of ultra-compact individual coil takes up much less space in the ignition system, but as the “active” part is in the coil body, it is more subject to strong temperature variations and is more susceptible to damage.

THE TOP-PLUG COIL

This design incorporates one coil per spark plug. Unlike the pencil coil, the “active” part is located on the upper part of the coil, thus limiting exposure to the stresses of temperature variations. In addition to its application in automotive engines, it is also used in aircraft engines for safety reasons. As a matter of fact, to date, it is the most recent and reliable technology.

THE PENCIL/TOP-PLUG COIL IN A RACK

This coil combines the advantages of the pencil/top-plug coil (limitation of exposure to temperature variations) with those of the integrated ignition coil.

Technical information

SYMPTOMS

The following symptoms are often associated with the failure of one or more ignition coils:

  • Black smoke release;
  • Inconsistent engine idling;
  • Slow and difficult vehicle start-up;
  • Fault signal on the dashboard;
  • Decreased vehicle power;
  • Increased fuel consumption.

DIAGNOSTIC PROCEDURE

First and foremost, you need to visually inspect the ignition coil to determine if it has a fault. It is therefore strongly recommended to check the following:

  • Coil wiring (presence of burnt, damaged, corroded or deteriorated wires);
  • The ignition wire set (if it is a coil with a wire set) and the coil connector;
  • The cap, ignition wire or coil housing to ensure that they are not burnt, damaged, cracked, corroded, deteriorated; or otherwise contaminated with water, oil or moisture.

You can also use a multimeter to check if the coils are working in order, by verifying whether there is an electric current at the connector output.

When in doubt, you can try swapping the coils (in the case of pencil coils and/or top plugs) in order to find the defective cylinder. However, we do not recommend changing only one coil (see “Installation Tips” below).

CAUSES OF FAILURE

It is possible that the coils are no longer working due to:

  • Overheating due to exposure to high temperature variations;
  • Leakage between the coil and the cylinder (oil leakage or water in the system);
  • Wear and tear due to time (replacement generally every 60,000 km).

INSTALLATION INSTRUCTIONS

To ensure a quick and efficient installation, please refer to the following instructions (in this case, replacement of a pencil type coil and/or top plug):

  1. Make sure that the motor is cold before removing the coils.
  2. First, disconnect the negative terminal of the battery.
  3. Disconnect the coil connector. Repeat the operation for each of the coils.
  4. Remove the screws securing the coils. We recommend using the specific spanners for this operation. Clean the spark plugs with a soft cloth.
  5. Replace the new coils with their fixing screws.
  6. Reconnect the connector of each coil.
  7. Finally, reconnect the negative terminal of the battery.

Please note: different coil types may require different actions. When replacing an ignition wire coil or a “dry” coil, please note the cylinder numbers before disassembly, so that you can reassemble the new strands in the right positions.

INSTALLATION TIPS

As they are considered rather fragile products, there are a number of tips to follow when replacing coils:

  • Make sure you hear the audible “click” when connecting the coil to the vehicle’s connector and respect the direction of assembly of the wires according to the manufacturer’s instructions;
  • Respect the tightening torque recommended by the manufacturers: 6 Nm, otherwise the fixing points will crack and/or the coil will vibrate excessively and break prematurely;
  • Do not use a coil if it has visual defects (cracks, pins, broken connectors) otherwise it will break prematurely and/or misfire;
  • Never attempt to remove a coil cap for reuse;
  • Replace the spark plugs and the ignition coils together;
  • Check that the spark plugs are not damaged (e.g., by oil leakage), so that they do not contaminate the coils, which could lead to arcing;
  • Use a torque spanner to tighten the spark plugs, otherwise the spark plug may get damaged, sometimes resulting in coil failure;
  • Ensure that the surface between the high voltage coil and the secondary voltage wiring is sealed, as well as the electrical connectors, otherwise the seal may be weakened, leading to voltage “leakage” or even a short circuit;
  • Make sure the coil is well greased, in which case use a specific grease for end caps – such as “spark plug grease” recommended by the manufacturer – to replace the coil, to avoid voltage losses;
  • Do not replace the pencil or top-plug coils individually, nor mix them with different brands, as this could create an ignition imbalance between the cylinders.

PREVENTIVE INFORMATION

The above items are provided for information purposes only. They do not replace the advice of a qualified technician or mechanic. We strongly recommend that you consult a professional if you are unsure of what to do. Otherwise, we cannot accept responsibility for any damage to your vehicle.

Frequently asked questions
What symptoms should I look out for?

If you notice that your vehicle is emitting black smoke, has difficulty starting, or has a fault signal on the dashboard, then the ignition coil is likely to be in a critical condition. There is also a good chance that the engine is running rough and that the vehicle’s power is reduced. Increased fuel consumption and emissions are additional symptoms of an ignition coil failure.

How to identify the fault?

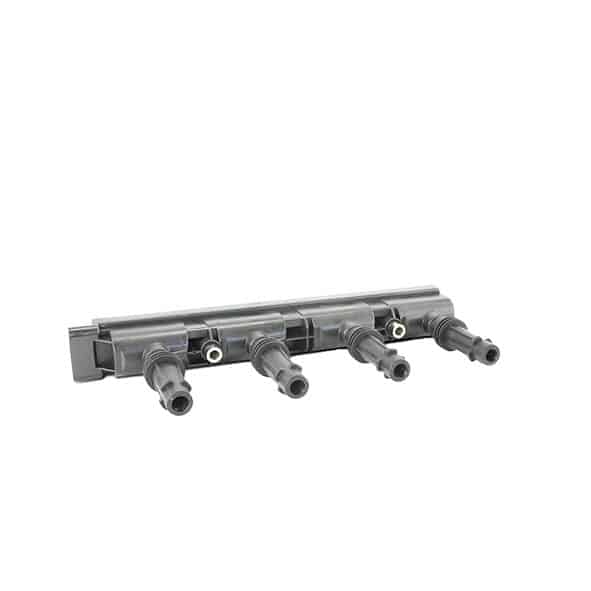
As a first step, we strongly recommend that you visually inspect the coil and its components, i.e. the wiring (presence of burnt, damaged, corroded or deteriorated wires), the ignition wire set (if it is a coil with a wire set) and the coil connector.

We also invite you to inspect the cap, the ignition wire or the coil housing to make sure that they are not burnt, damaged, cracked, corroded, deteriorated or that there is no water, oil or moisture present.

Secondly, using a multimeter, you can check that the coil is working properly by making sure that an electric current is present at the output of the connector.

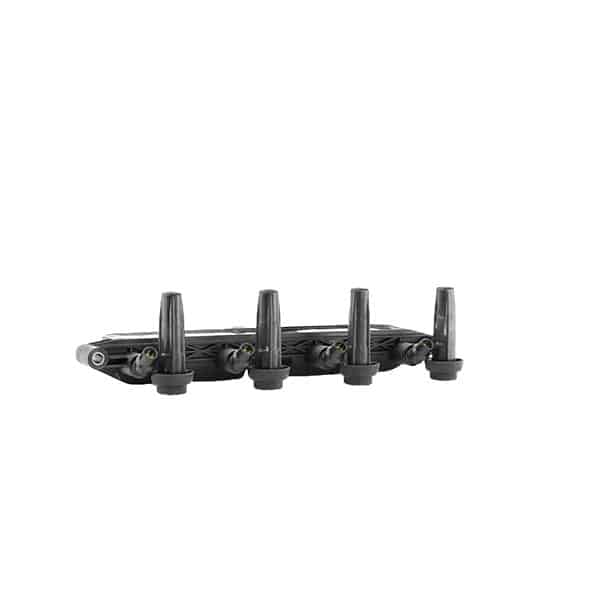
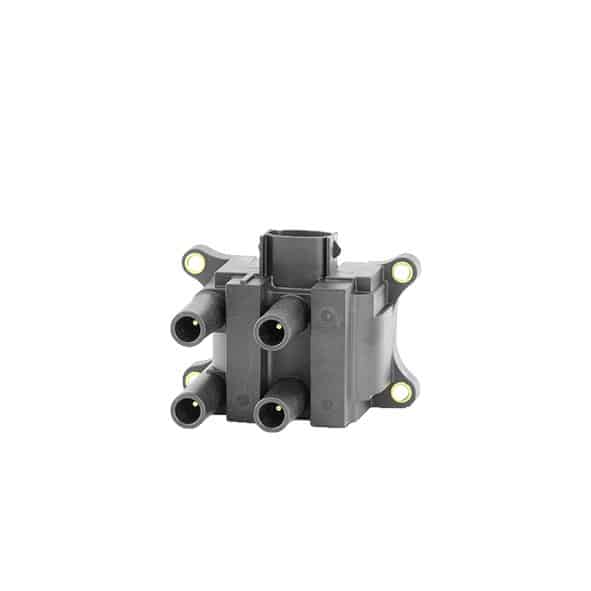
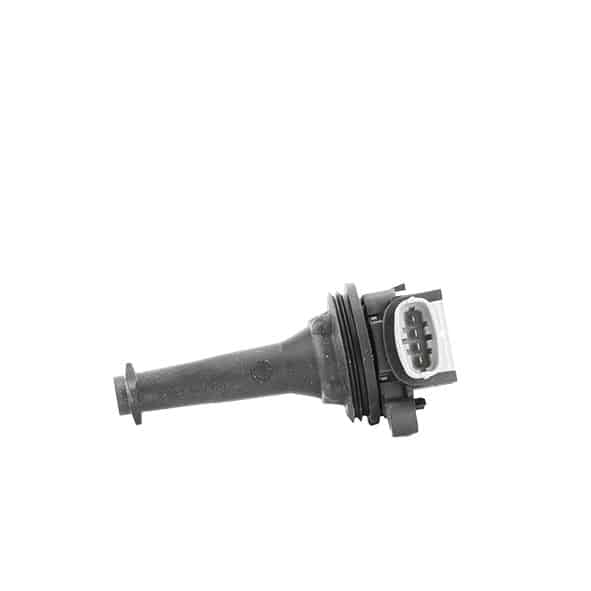
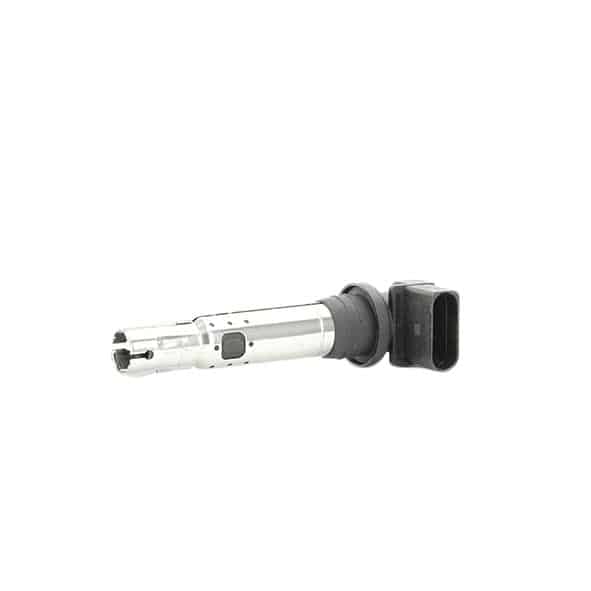
In case of doubt, it is possible to swap the coils (in the case of pencil coils and/or top plug) in order to find the defective cylinder. However, we do not recommend changing only one coil.

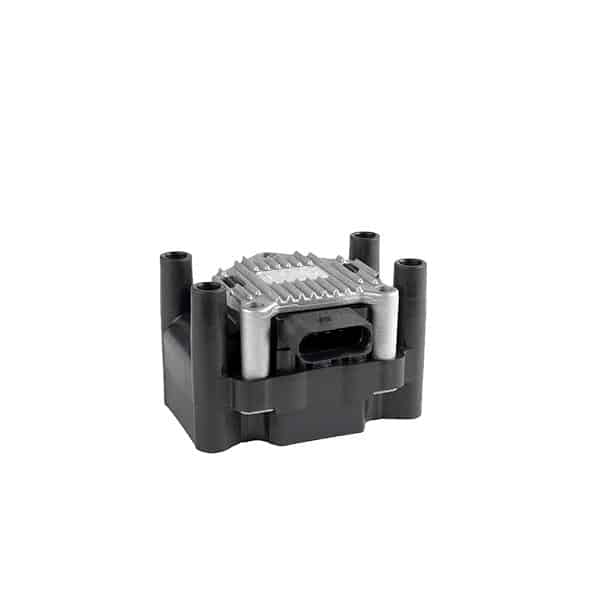
If the previous tests are not conclusive, then it seems that you will have to replace the ignition coil(s) in your vehicle.

Why does my coil need replacing?

There are many reasons why the ignition coil may fail. These include overheating due to exposure to high temperature variations, leakage between the coil and the cylinder (oil leakage or water in the system), or wear and tear over time (usually replaced every 60,000 km). Of course, this list is not exhaustive and other reasons can cause the ignition coil to fail.

What are the installation instructions?

We recommend that you follow the steps below to replace your coil as efficiently as possible and limit the risk of error:

  1. Make sure the motor is cold before removing the coils.
  2. First, disconnect the negative battery terminal.
  3. Disconnect the connector from the coil. Repeat the operation for each of the coils.
  4. Remove the screws securing the coils. It is recommended to use the specific spanners for this operation. Clean the spark plugs with a soft cloth.
  5. Replace the new coils with their fixing screws.
  6. Reconnect the connector of each coil.
  7. Finally, reconnect the negative terminal of the battery.

Depending on the model of the coil you are replacing, there are additional steps to be taken. For example, if you are replacing a beam coil or a “dry” coil, you will need to identify the cylinder numbers before removing the defective product in order to reassemble the new strands in the right place.

What tips should I use to extend the life of my coils?

As we have evolved, we have learned from the various technologies and can now say that coils are fragile parts that need some care in their use to prolong their life.

There is a non-exhaustive list of assembly tips that we would recommend (and which you will find in the “Technical Information” section), here is an overview of the most important, and probably the “best known”:

  • Replace the spark plugs and ignition coils simultaneously;
  • Respect the tightening torque recommended by the manufacturers: 6 Nm (recommended standard tightening torque) otherwise the fixing points will crack and/or the coil will vibrate too much and break prematurely;
  • Do not replace the pencil or top-plug coils individually, nor mix them with different brands, otherwise an ignition imbalance will be created between the cylinders;
  • Make sure that the coil is well greased, in which case use a specific grease for spark plugs recommended by the manufacturer to replace the coil in order to avoid voltage losses.
Resources
You can download the best sellers associated with this product family below.
Best-sellers
Find out more about our top 10 sellers for the European market.
Download